
Profile setup instructions
We are beyond grateful to welcome you to the calm nest family as one of our practitioners. In order to finalize your profile and get you ready to be shared with our clients you need to complete the following steps.
Proceed to the practitioner log-in screen and log-in to your account
You will now be guided to setup your profile.
- 1. Upload your profile picture – we recommend that your picture be taken by a friend against a white background. Have the picture center around your face and make sure that you are well lit.
- 2. Connect to stripe – in order to get paid by calm nest you will need to create a stripe account. All payment for services rendered through calm nest will be paid to your stripe account, therefore it is essential that your profile is linked to your stripe account.
- 3. Tell the clients about yourself. Kindly use the prompts that we have provided as they allow our clients a consistent manner to learn about all of the calm nest practitioners.
- 4. Click continue.

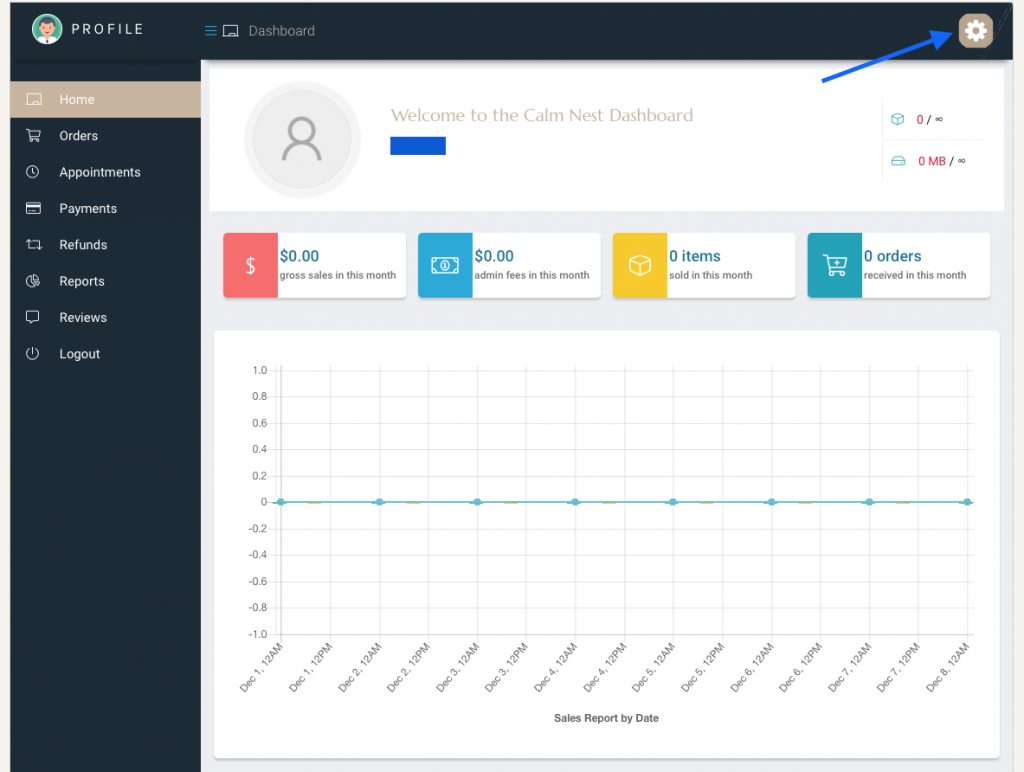
- 5. Click on the settings button to add or edit information such as modalities, appointment times and prices.
- 6. Personal Section: Name, email, phone number and address.
- 7. References, Certifications and Associations: Here you can upload or add any certifications that you may have or professional associations that you belong to.
- 8. Payment: connection to Stripe account.
- 9. Public Profile: Profile, modalities, appointment options and fees.
-
- a. Profile information.
- b. Modalities – here you can add or edit the modalities you want to offer clients.
- c. Create the appointment that you want to make available to clients and the fees for each session. Make sure to create an appointment option for each modality that you offer. Note that these can be altered by you at any time.
- d. Click save at the bottom of the page to save your appointment options.
- 10. Login information: Username and password information
- 11. Google calendar sync: Syncing your designated calm nest google calendar to the calm nest site allows for real time appointments to be placed in your personal calendar as soon as they are booked by the client.
-
- a. If you don’t already have a personal google calendar designated for your calm nest appointments, then first follow this guide to create one https://support.google.com/calendar/answer/37095?hl=en, then return to your calm nest dashboard to connect the calendar.
- b.Click on Connect with google – you will be prompted to log into your google account.
- c. Google will ask for permission to connect to your personal google account – Click Allow. (Please note that after allowing calm nest to access your google calendar, you will have a step to select the particular calendar to synchronize calm nest appointments to. Once you do this, calm nest will not access any of your other calendars.)
- d. Calendar ID – select the calm nest calendar that holds your calm nest appointments.
- e. Sync preferences – select Two way – between store and google.
- f. Click Save at the bottom on the page to save your selections.
